Managing Brands & Categories
How to use the taxonomy manager to manage featured brands and categories and adding images in Drupal 7.
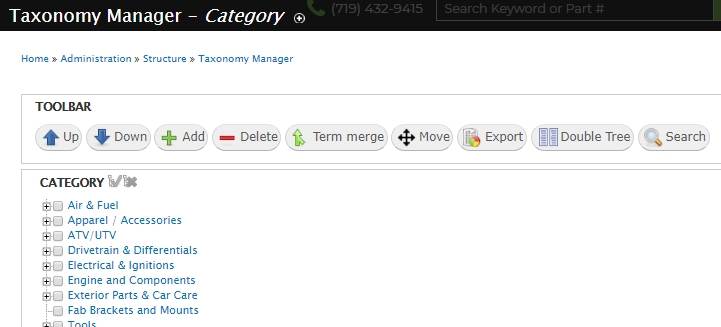
1. The first step is to get to the taxonomy settings for either brands or categories (that depends on which one is being changed). These settings are through the top admin menu “Structure” -> “Taxonomy Manager” -> Select either Brand or Category.


2. There are two ways you can find an item. There is a search, or you can simply select the item.
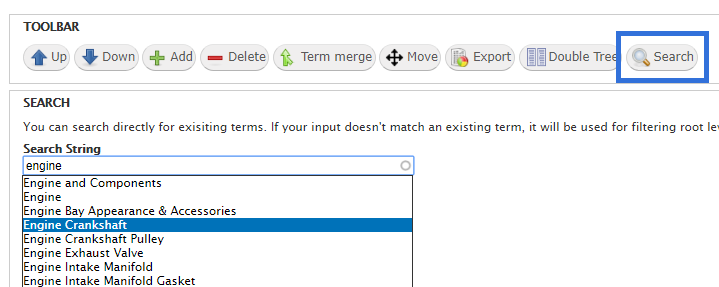
a. Using the search: To search for an item, click on the search button with the magnifying glass icon in the toolbar, and start typing the item. Once you start typing, you’ll notice the loading circle to the right of the bar. This means the search is looking for all items containing that word. Then you’ll see a dropdown list. Once you see your item, click on it. This will load the full item in the search bar, then click the search button below the search string field.

The listings will then zone in on your item, and to the right of the page you’ll see some settings displayed.
b. Not using the search: You can traverse the taxonomy tree using the categories list to the left of the screen. You can click on the plus sign icon to the left of the category term and it will expand that category and show you subcategories. Once you find the item you’re looking for, simply click on the term.
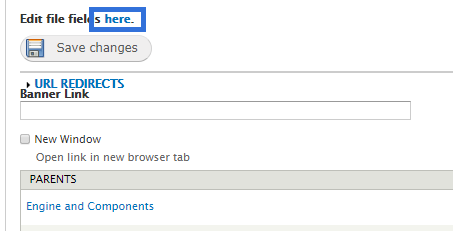
3. To the right of the screen, you'll see fields like the term name, description, weight, URL Redirects, and other settings for the selected term. From here, click on "Edit file field here":

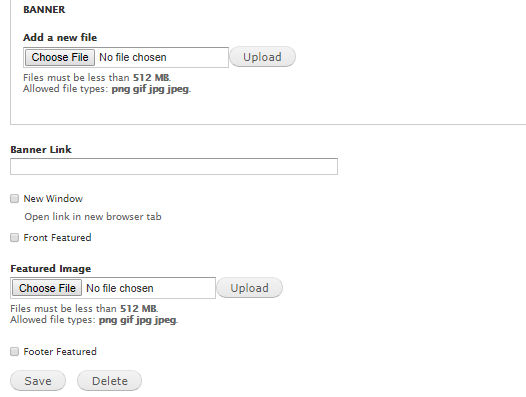
On the next page, scroll down to the bottom, and you’ll see sections for uploading featured images, banners, even the selection options to feature the item on the frontpage or another part of your site. It will look like this:

You can make all your necessary changes for that item here, and DO NOT forget to save when you’re finished. Please note that adding a featured image does not ensure that the item will show up in your featured section. The featured checkbox must be checked as well.
